
Short answer: Amplifier clipping occurs when a signal stage exceeds the level it can reproduce properly, distorting the waveform. It can involve input or output headroom; Analog Devices' technical explanation distinguishes those limits. If your venue's music sounds harsh or broken, turn it down first, then find where the distortion enters the playback chain.
An unpleasant sound alone does not prove that the power amplifier is clipping. The recording, source output, mixer input, processing, amplifier, speaker or a mechanical rattle may need investigation. A useful diagnosis identifies the stage and the condition that triggers the problem, rather than simply naming the sound.
Start with a lower level and a clear stop condition
Reduce the listening level before comparing settings. If equipment shows persistent fault or protection behaviour, unusual heat, a burning smell or damaged connections, stop using it and refer it to the responsible technician. Do not keep increasing the signal to make the symptom easier to hear. The aim is to preserve the equipment while gathering useful observations.
Keep the initial check simple: identify the source, the selected input and the affected area. Note whether the problem is present throughout playback or only on particular passages. If several people are changing controls, nominate one person to make and record changes so you can tell which action affected the result.
Do not open an amplifier, bypass its protection or replace a fuse with a different rating as part of an operator sound check. Those actions do not establish the cause of the distortion. Follow the equipment instructions and service route when an electrical or hardware fault is suspected.
Trace source, input and output before buying anything
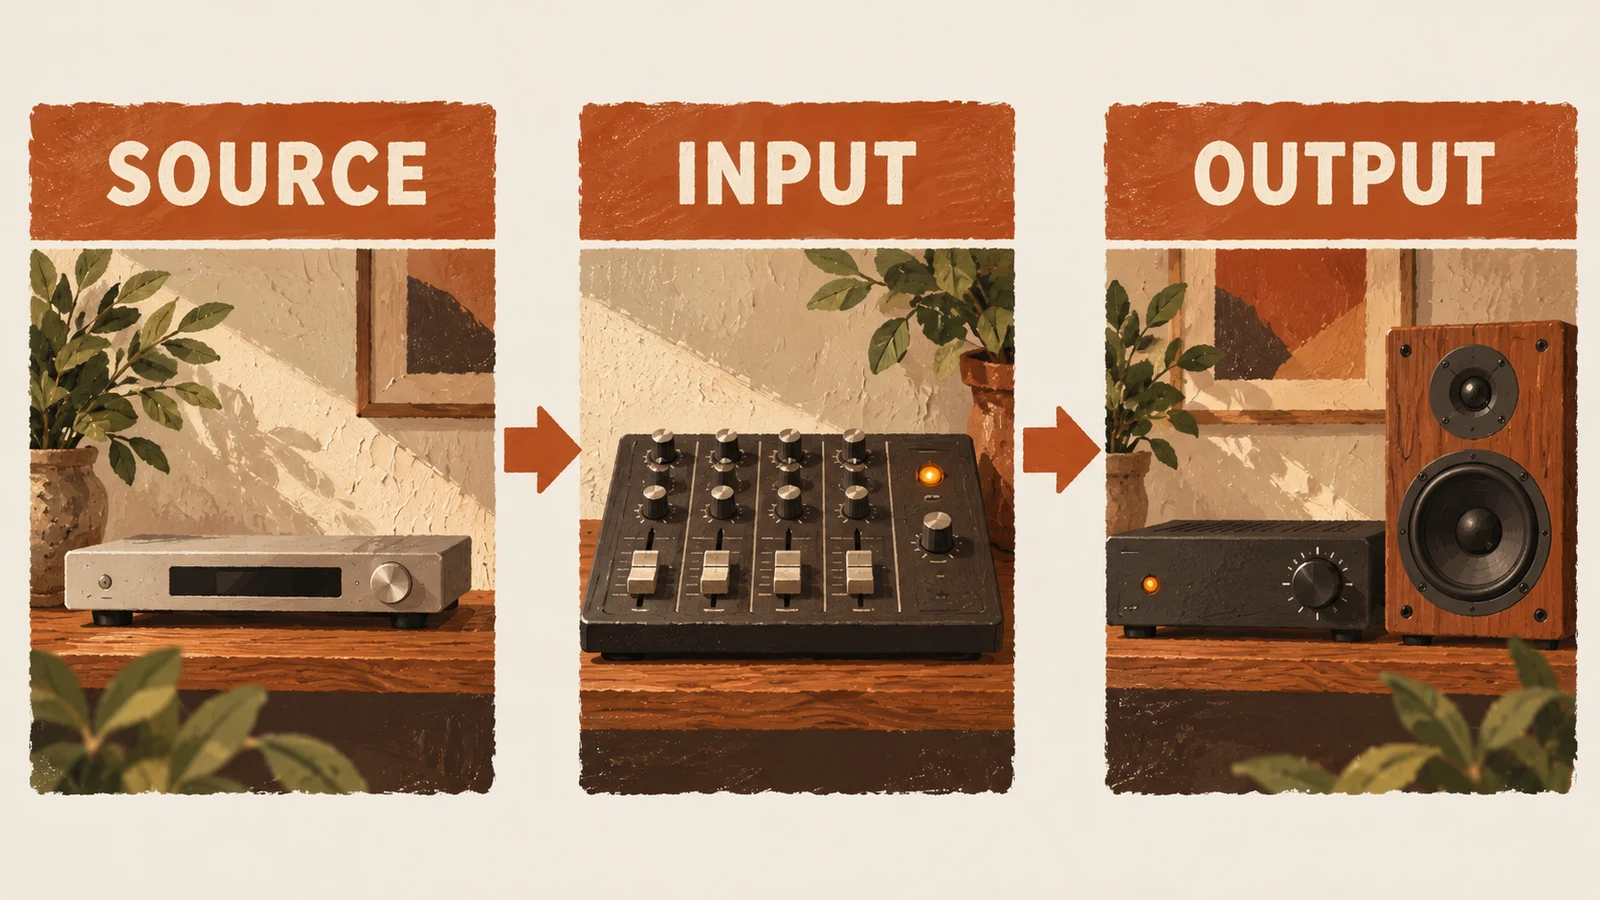
Work forward through the chain with a known, permitted music source at a modest level. Change one relevant control or component at a time, following the equipment manual. The table below is a way to organise observations; its branches identify what to investigate next. They do not certify a fault from a single symptom.
| Observation | What to investigate | Useful next check |
|---|---|---|
| The same passage sounds distorted on another suitable output | Recording or source path | Compare another clean track and record the exact passage |
| An input indicator reaches its documented overload condition | Source output or input gain | Check the manual's input-level procedure |
| The amplifier's documented clip indicator appears as level rises | Amplifier operating conditions and load | Reduce level and refer the channel details to the installer |
| Only one physical speaker or fitting rattles | Local speaker, mount or surrounding object | Locate it at a low level; arrange inspection |
| The music stops or repeats rather than sounding harsh | Playback or connection interruption | Follow the separate buffering investigation |
Do not silently translate “the input meter looks high” into “the speakers are damaged.” Keep observations literal. The buffering guide covers pauses and interruptions; those need a different starting question from audible distortion.
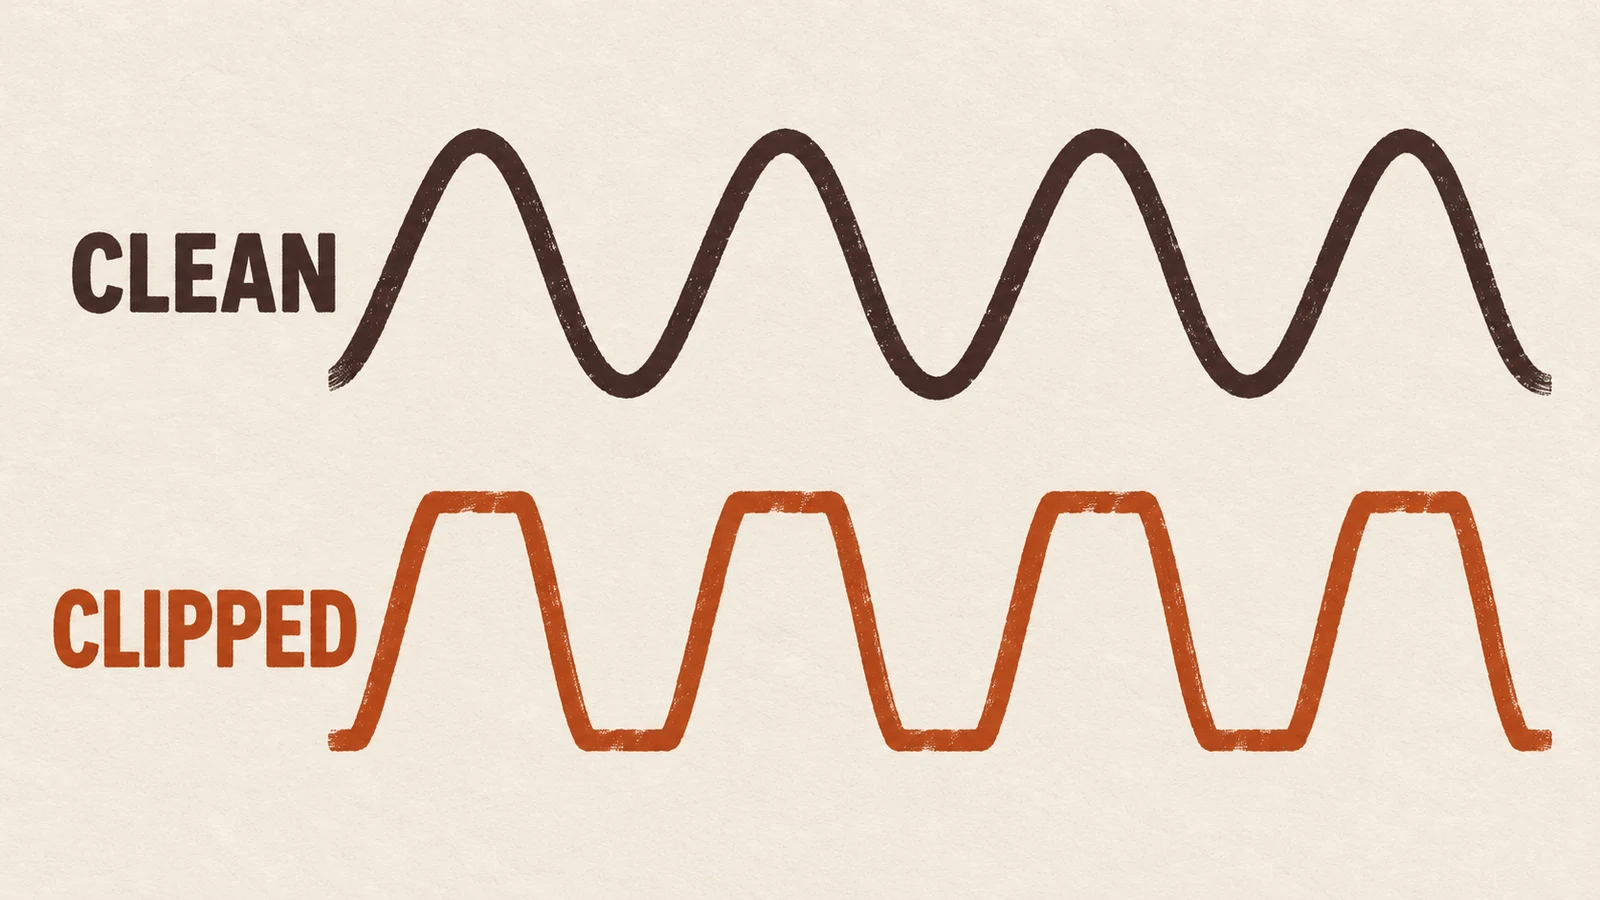
An upstream overload can survive a lower listening level
Turning down a later stage can make distorted audio quieter without repairing distortion created earlier. That is why an output-volume change is not a complete test of input headroom. Analog Devices' headroom explanation supports the distinction between an input-stage limit and an output-stage limit; the exact controls that affect each stage depend on your equipment.
Read the source, mixer and amplifier instructions to establish which control acts where. An input gain, channel fader, master level and amplifier attenuator are not automatically interchangeable. Record the control name and the resulting indicator behaviour rather than saying only that you “turned the amp down.”
Use a clean comparison track that you are permitted to play. If one recording remains distorted across suitable playback paths at a modest level, do not compensate by turning up the venue system. Exclude that track from the diagnostic comparison, preserve its identity for support and check whether the problem also occurs with other material.
A clip light is useful only when you know its meaning
An indicator is evidence about the stage and condition defined in that model's manual. It is not automatically a meter of the entire system or proof that every audible problem has the same cause. Locate the relevant documentation, including any distinction between signal, limit, clip, protect and fault indicators, before deciding what a light establishes.
Take a photograph of the control panel and note when the indication appears. Does it follow a particular channel, a strong passage, a processing setting or a recently changed connection? Keep the listening level low while gathering that information. If the documented operating condition cannot be maintained, stop and have the system assessed.
The absence of a visible clip indication also leaves other questions open. A damaged or loose component, an unsuitable input or a distorted recording may need a different check. Treat the indicator as one source of evidence within the chain, rather than a universal verdict.
Check recent changes to speakers and processing
Tell the installer about any added speaker, changed channel assignment, new source or altered processing. For conventional passive speakers, a wiring change can alter the load on an amplifier channel. Yamaha's speaker guide explains why parallel additions need a compatibility check. Do not assume that an available connector means another cabinet can be added safely.
Use the speaker impedance guide to organise the channel record. Include the actual amplifier mode and speaker specifications. Ask the technician to assess the complete arrangement rather than choosing a replacement amplifier from a wattage number alone.
Return undocumented equaliser boosts or processing changes to the responsible installer for review. Do not disable a limiter to obtain more level. If the room needs more usable coverage, investigate placement and system design instead of treating a higher master setting as the only possible solution.
Leave a support report that another person can reproduce
Record the affected room, equipment models, source, connection mode, selected input, control settings and exact symptom. Add the track and passage if it is repeatable, which indicators appeared, what changed recently and what happened after each low-level comparison. A concise sequence is more useful than an unlabelled video of a loud distorted speaker.
Keep the most recent safe operating state in the handover. If the fault is unresolved, state whether the affected channel should remain off and who owns the service request. Do not leave the next shift to discover the problem during customer service. The business music setup guide helps assign that responsibility.
Sonosfera supplies background music from its own catalogue under its terms; changing music services does not repair an overloaded stage or faulty speaker. Once the equipment is working correctly, browse the catalogue, consult the business-type guides and check the current UK plan if it suits the venue's music needs.